Skip to content
  • There are no suggestions because the search field is empty.

Linux Bond Guide

Preface

This document outlines how to access and use the service on Cloudmylab infrastructure.

Audience

This document is intended for use by Cloudmylab Customer. It can be used by anyone working in the Information Technology Sector.

Scope

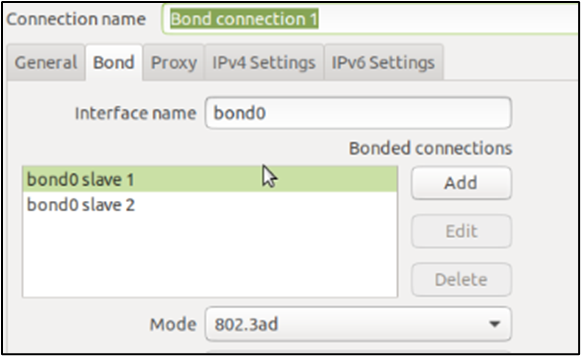
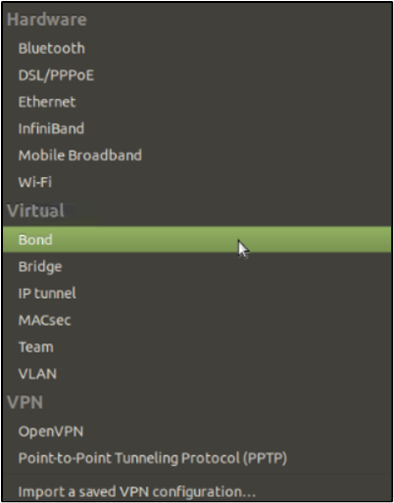
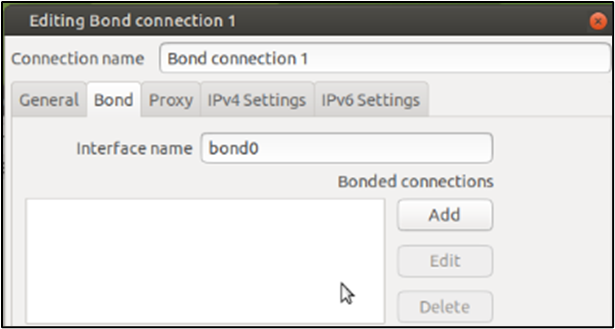
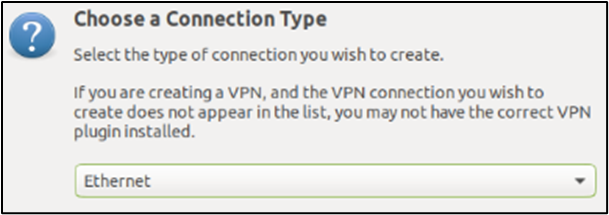
The scope of this document is to specifically ensure that the user understands how to configure bonded interfaces for Ubuntu Desktop 20.04

Process

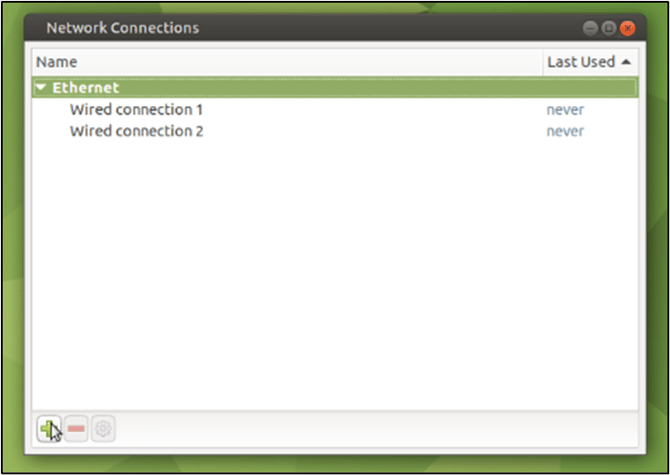
STEP 1: Create your Ubuntu 20.04 Node with at least 2x Ethernet devices.

1-Apr-17-2024-04-55-09-8205-AM

STEP 2: Connect your Ubuntu node to the respective network device(s).  Configuring the network device is out of scope for this tutorial.  It will be assumed that LACP is configured on the network device(s) for the remainder of this tutorial.

2-Apr-17-2024-04-55-37-0519-AM

STEP 3: Login to the Linux node and open the  Network Manager.
3-Apr-17-2024-04-55-53-6402-AM
STEP 4: Select the option to  Add another interface.
4-Apr-17-2024-04-56-44-2221-AM
STEP 5: For the type select  Bond under the  Virtual interface types.
5-Apr-17-2024-04-56-14-3608-AM
STEP 6: Add your Ethernet devices to the bond by selecting the  Add option on the  Bond tab.
6-2
STEP 7: Select your connection type, this should usually be an Ethernet type (the default).
7-2
STEP 8: Under the  Ethernet tab navigate to the dropdown menu labelled  Device and select your network device and press  Save.
8-2
Repeat steps 6 through 8 until you have added all devices required for your bond.
STEP 9: Change the Bond  Mode field to  802.3ad to enable LACP on the bonded links and press  Save.
9-2
STEP 10: Your bond is now created and ready for additional configuration.  On the network connection window highlight the newly created bond and select the configure button.
10
STEP 11: Select the  IPv4 (or v6) Settings tab and configure your interface as required and save once completed.
11-3
STEP 12: It is recommended to use the  Delete  button remove the original  Wired connection 1 or 2.   The Final result is show below.
12-1
If your connection does not show  now for the  Last Used column you should reload the networking services or reboot the VM.  Any devices used in the bond should not be configured under another interface.
 
STEP 13: Verify the bonded connection was successful by pinging a connected network and verifying the bond exists and connects after a reboot.  Examples to help verify the bonded interface are included below.
13-1

14-1

15

16

Common Troubleshooting

No LACPPDUs are sent by the Linux VM.

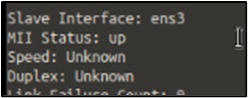
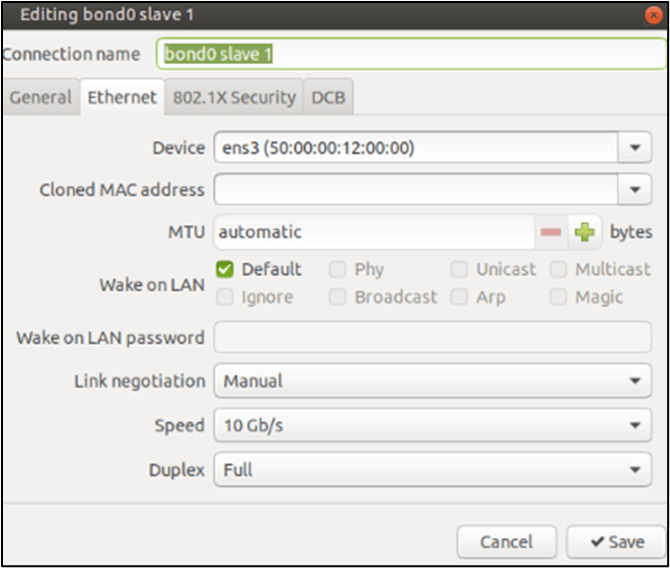
1) A Common cause that prevents LACPPDUs from transmitting is if the link speed is unable to be automatically negotiated on the member interfaces. Manually setting the link speed         and restarting the networking stack/rebooting should resolve this case.  Be sure to update all member interfaces.

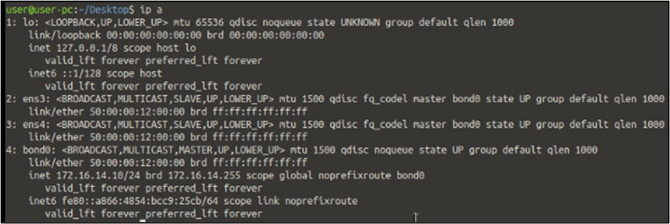
This can be verified by using the bond0 interface check from step 14 shows Unknown for the Speed of the member.

17
Manual correction is shown below.
18
2) Verify the mode is set to  802.3ad for the  master interface.
19
3) Ensure that all member interfaces and the bond appear to be in the  UP state.  See step 14 as an example.
Support Information: Please contact  support@cloudmylab.com or chat with us at cloudmylab.com